How to build a flight control using STM32F411 BlackPill board
Introduction
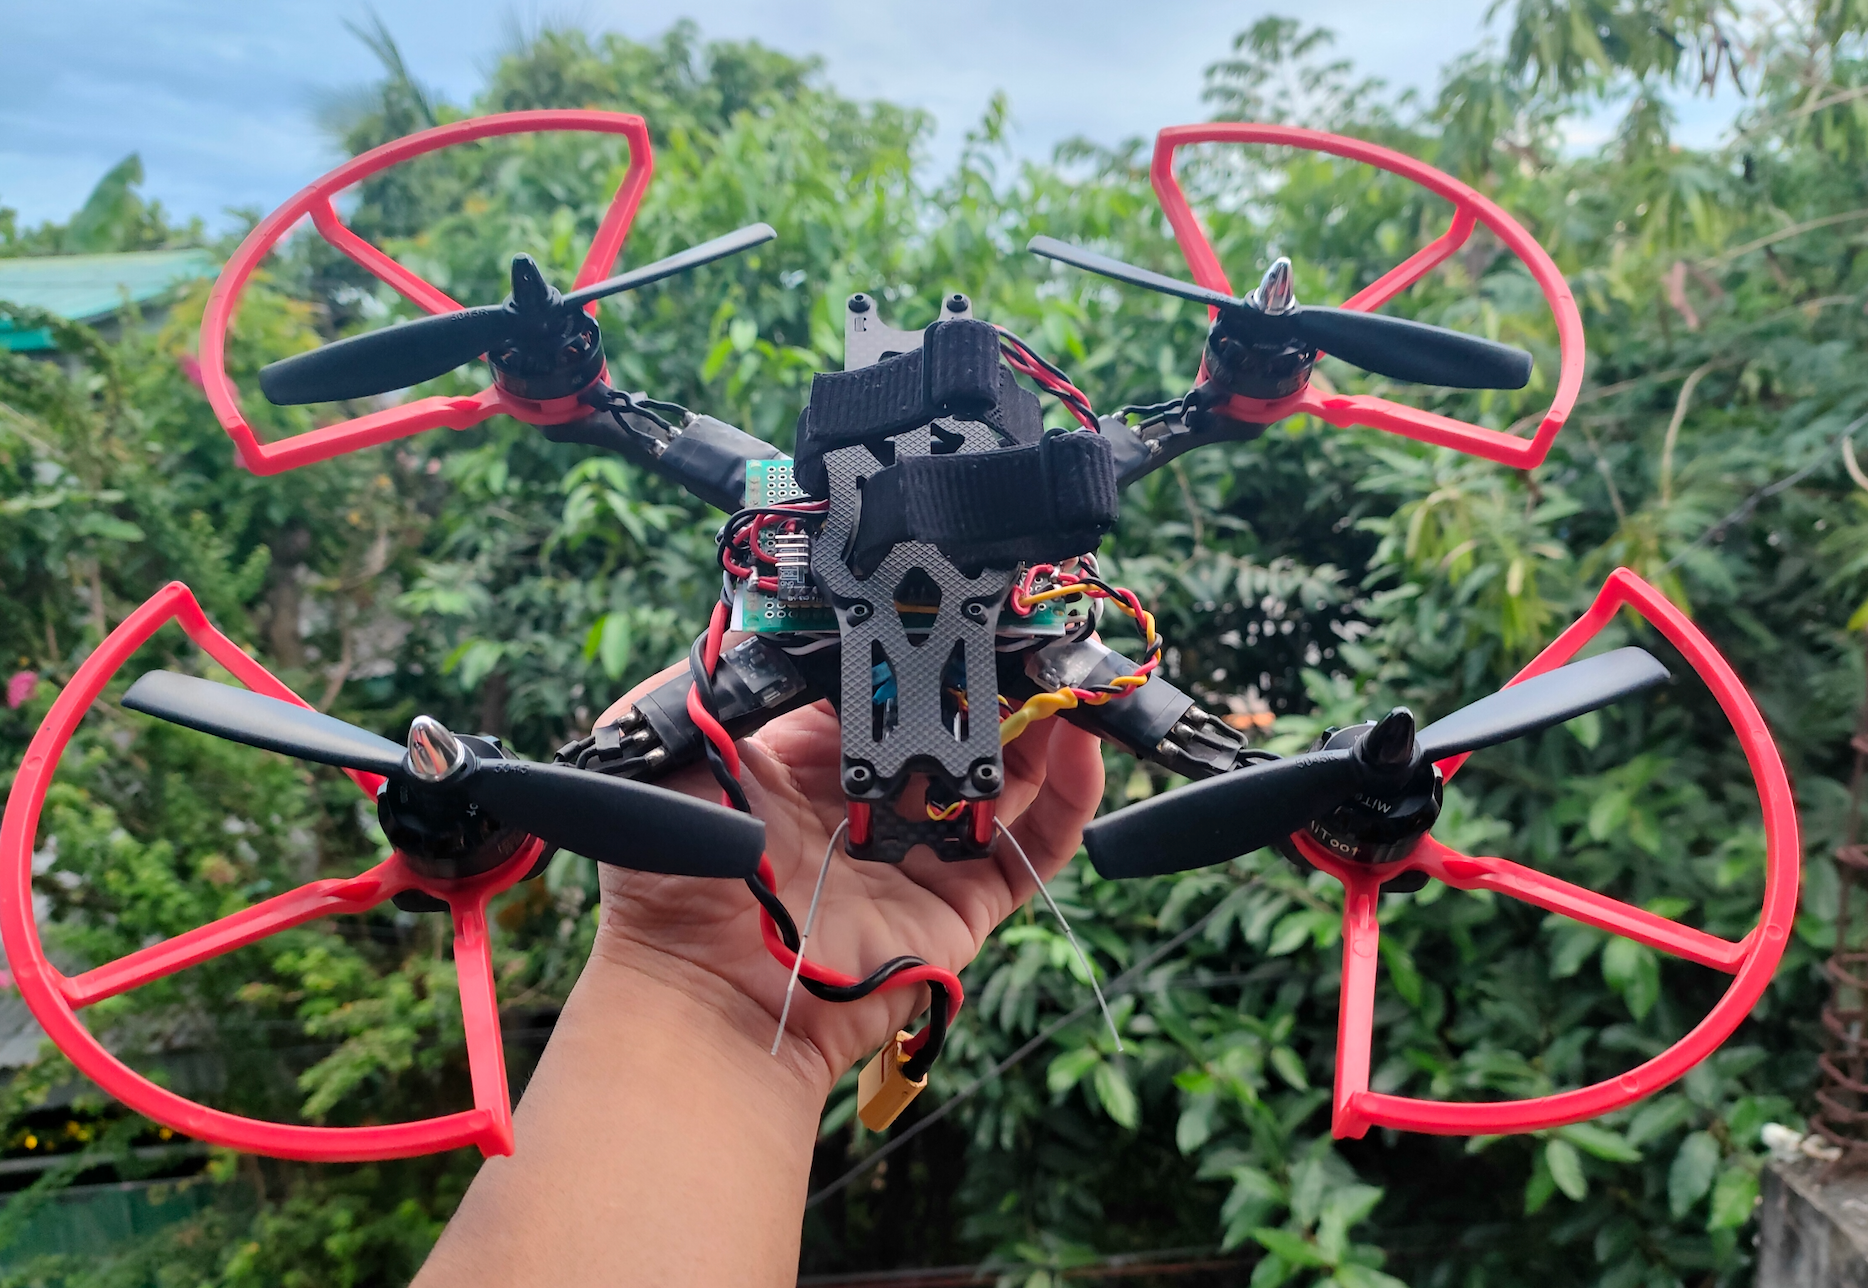
In this post, we are going to see how to build a flight control for a quadcopter using an STM32F411 BlackPill board. I will only go over the high-level details and assume that you can follow the schematics and solder/assemble the components together. It’s also useful to have a multimeter with you to test the connections from time to time and make sure there are no short-circuit. With that out of the way, let’s get into it!
Flight control (FC) hardware
The table below contains the list of components needed for the flight control.
| Component | Description | Image |
|---|---|---|
| STM32F411 BlackPill board | The main component of the flight control. | 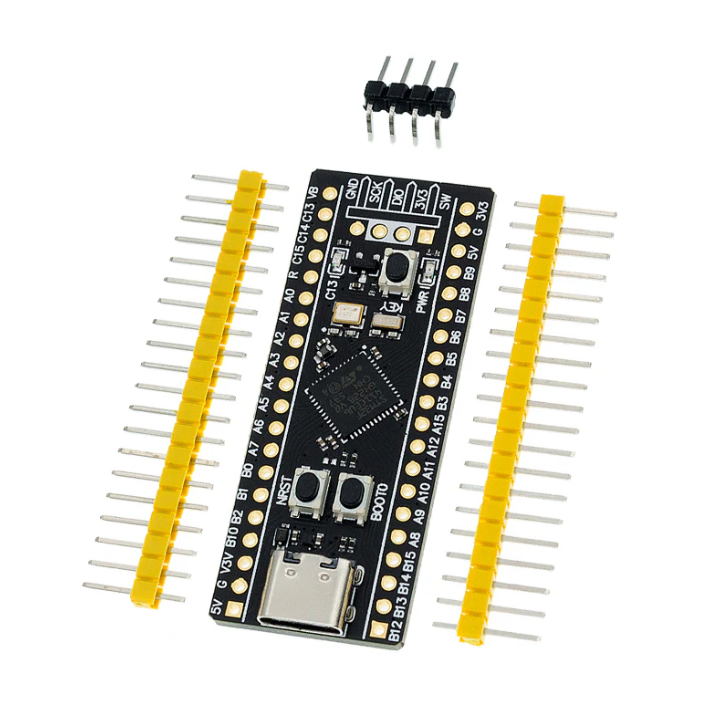
|
| MPU9250 or MPU6500 | Gyro/Accelerometer module. I recommended MPU9250 over MPU6500 as it has built-in compass. | 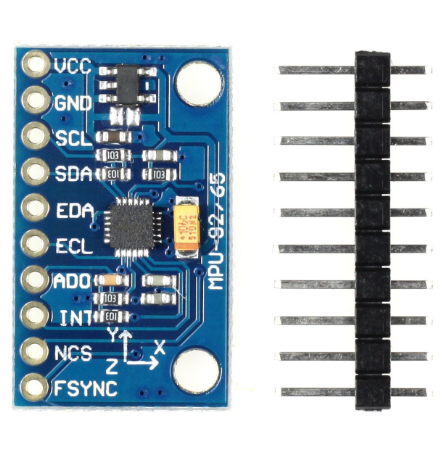
|
| MS5611 module (optional) | Barometer module | 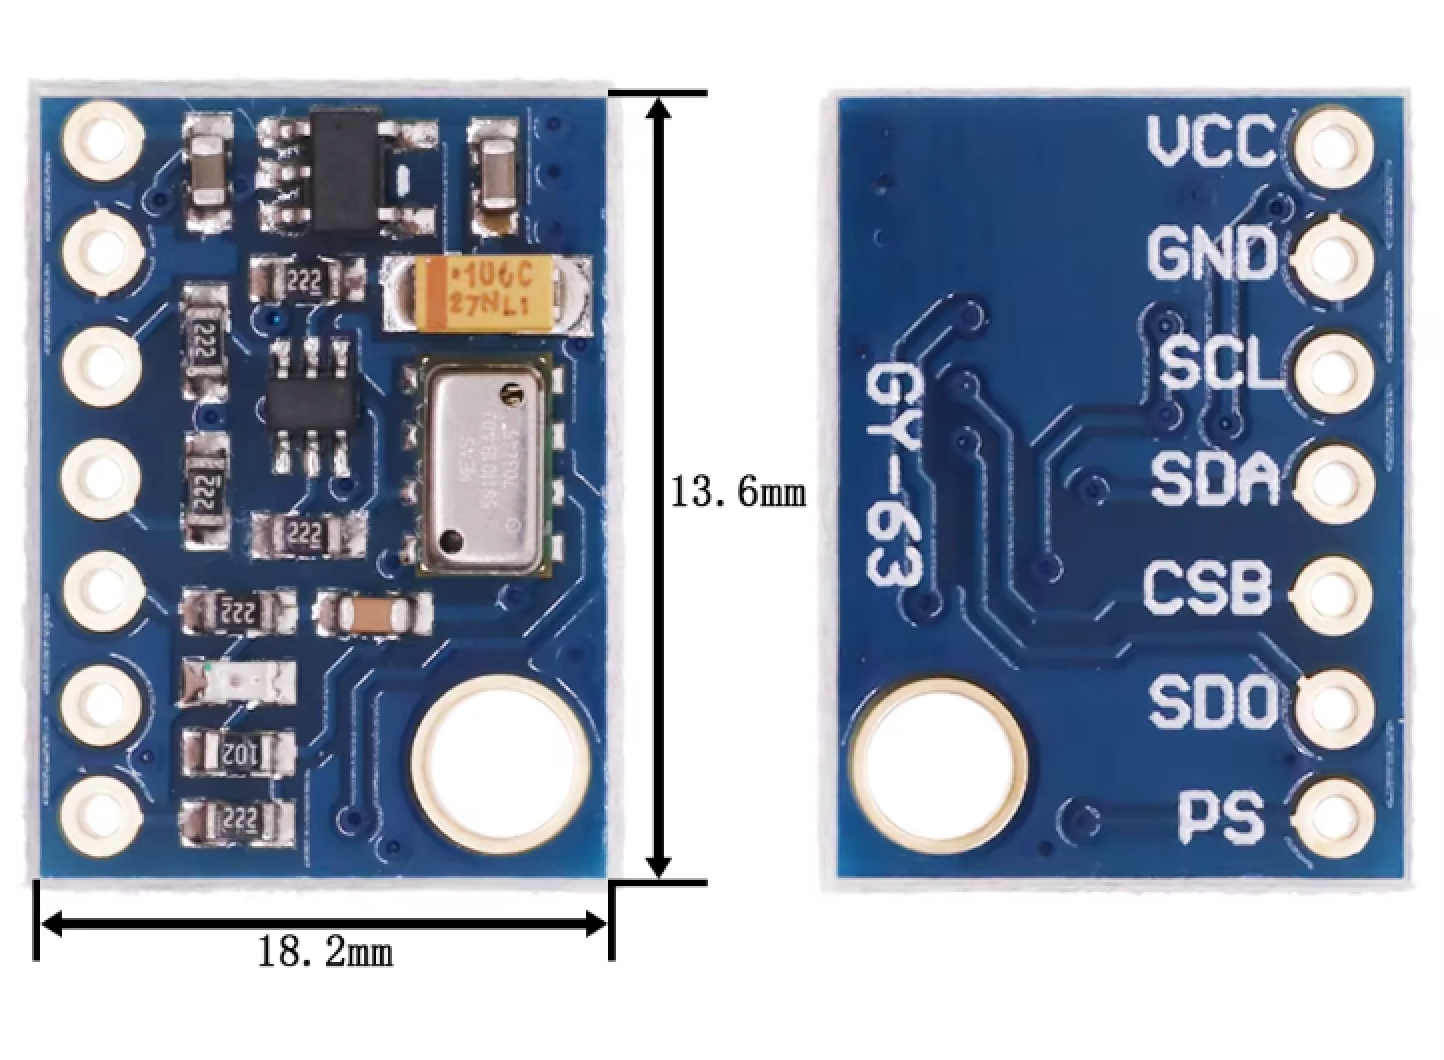
|
| u-blox NEO-6M GPS module (recommended) | GPS module | 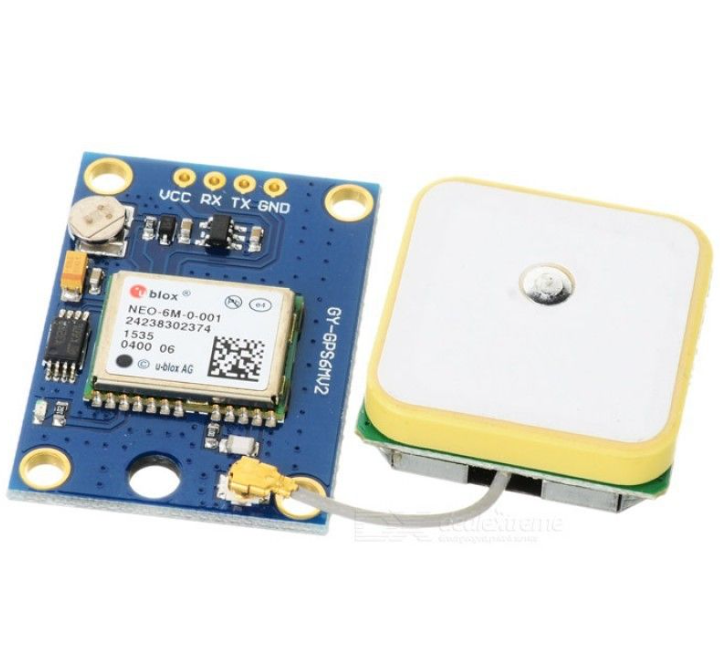
|
| Prototyping PCB (5x7 cm) | PCB to act as a base for our FC. Use the size that better fits your frame. | 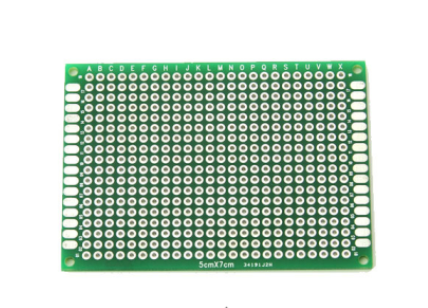
|
| Wires | I used 22awg for all my connections |
Wiring and connections
The schematics and wire connections are provided by Rıza Çelik (many thanks!). I didn’t add GPS and compass to my build to keep it simple. Still, I recommend that you add a GPS to your build as it will help to keep your quad stable when you fly it, so you don’t crash 😆
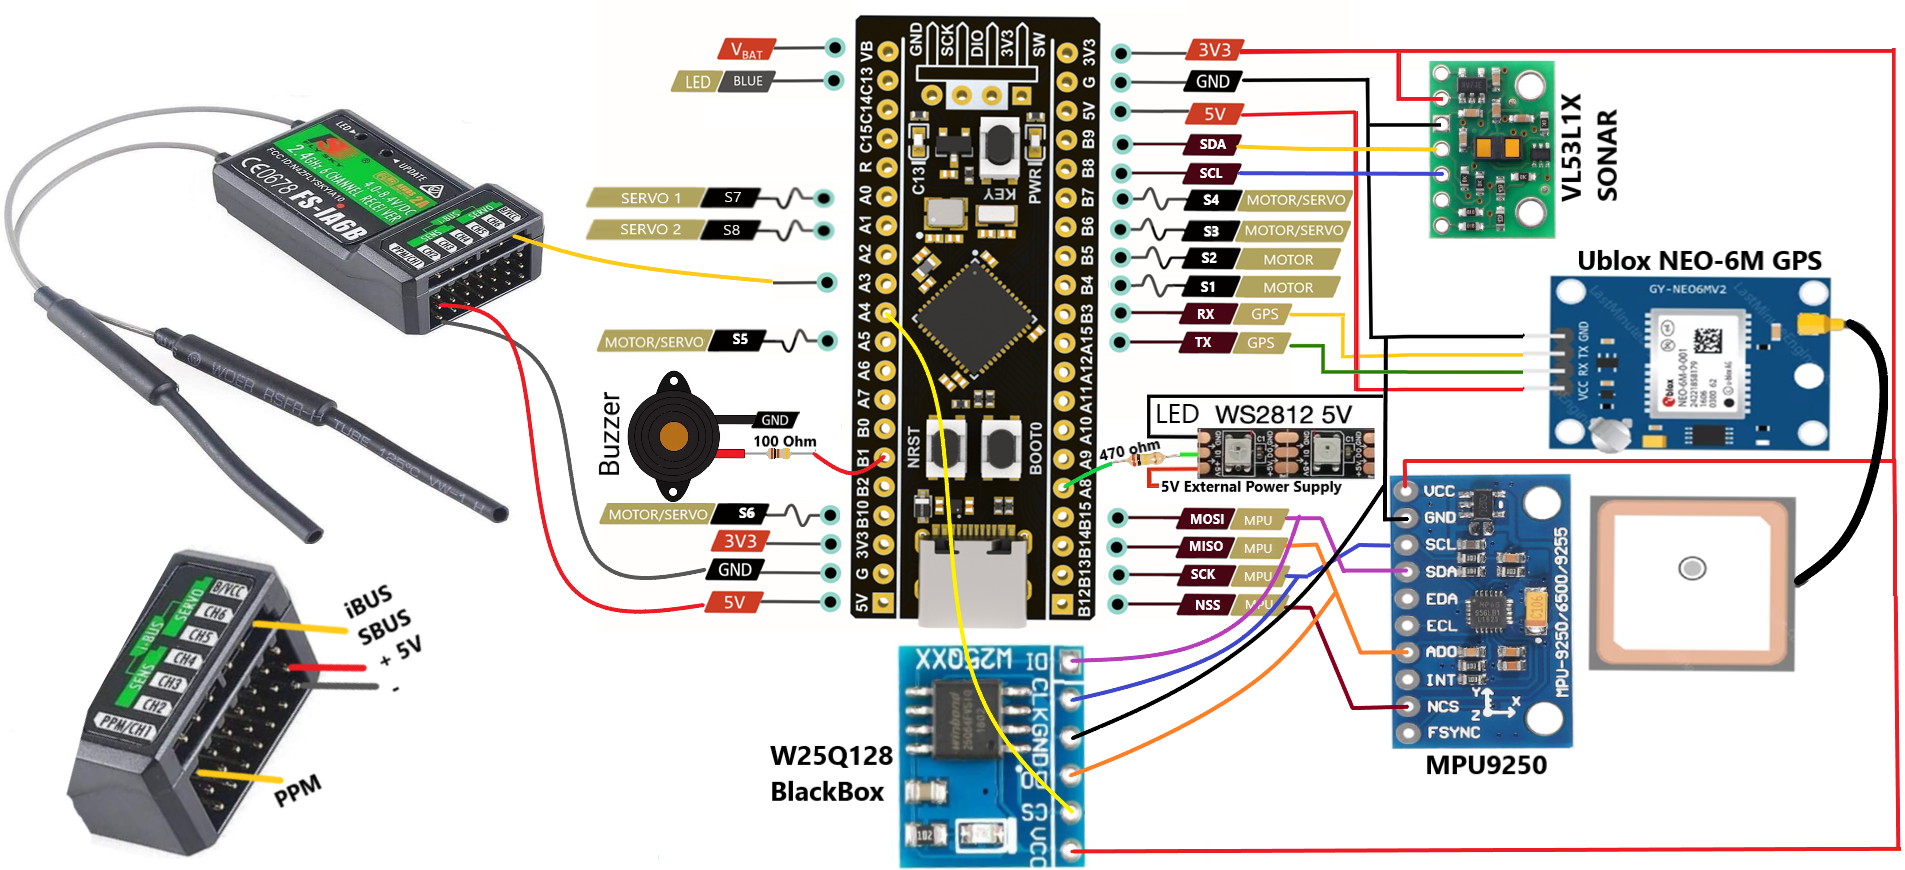
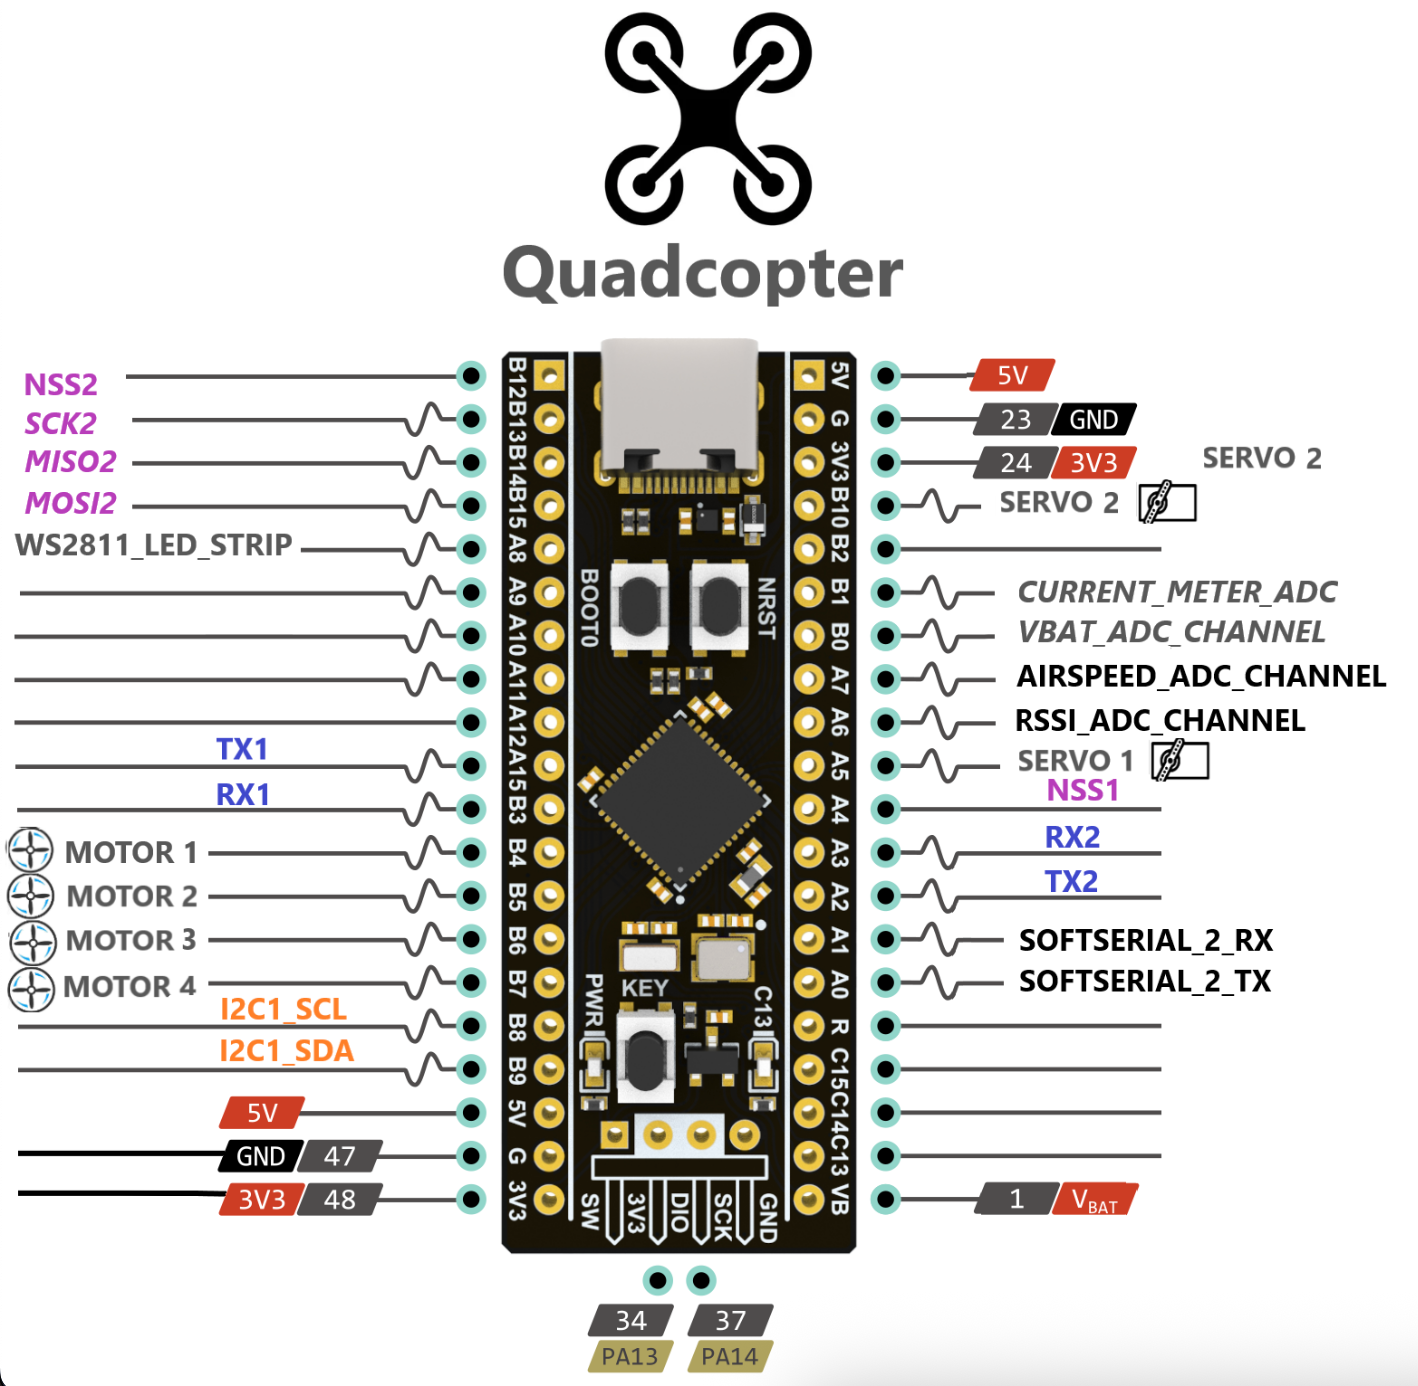
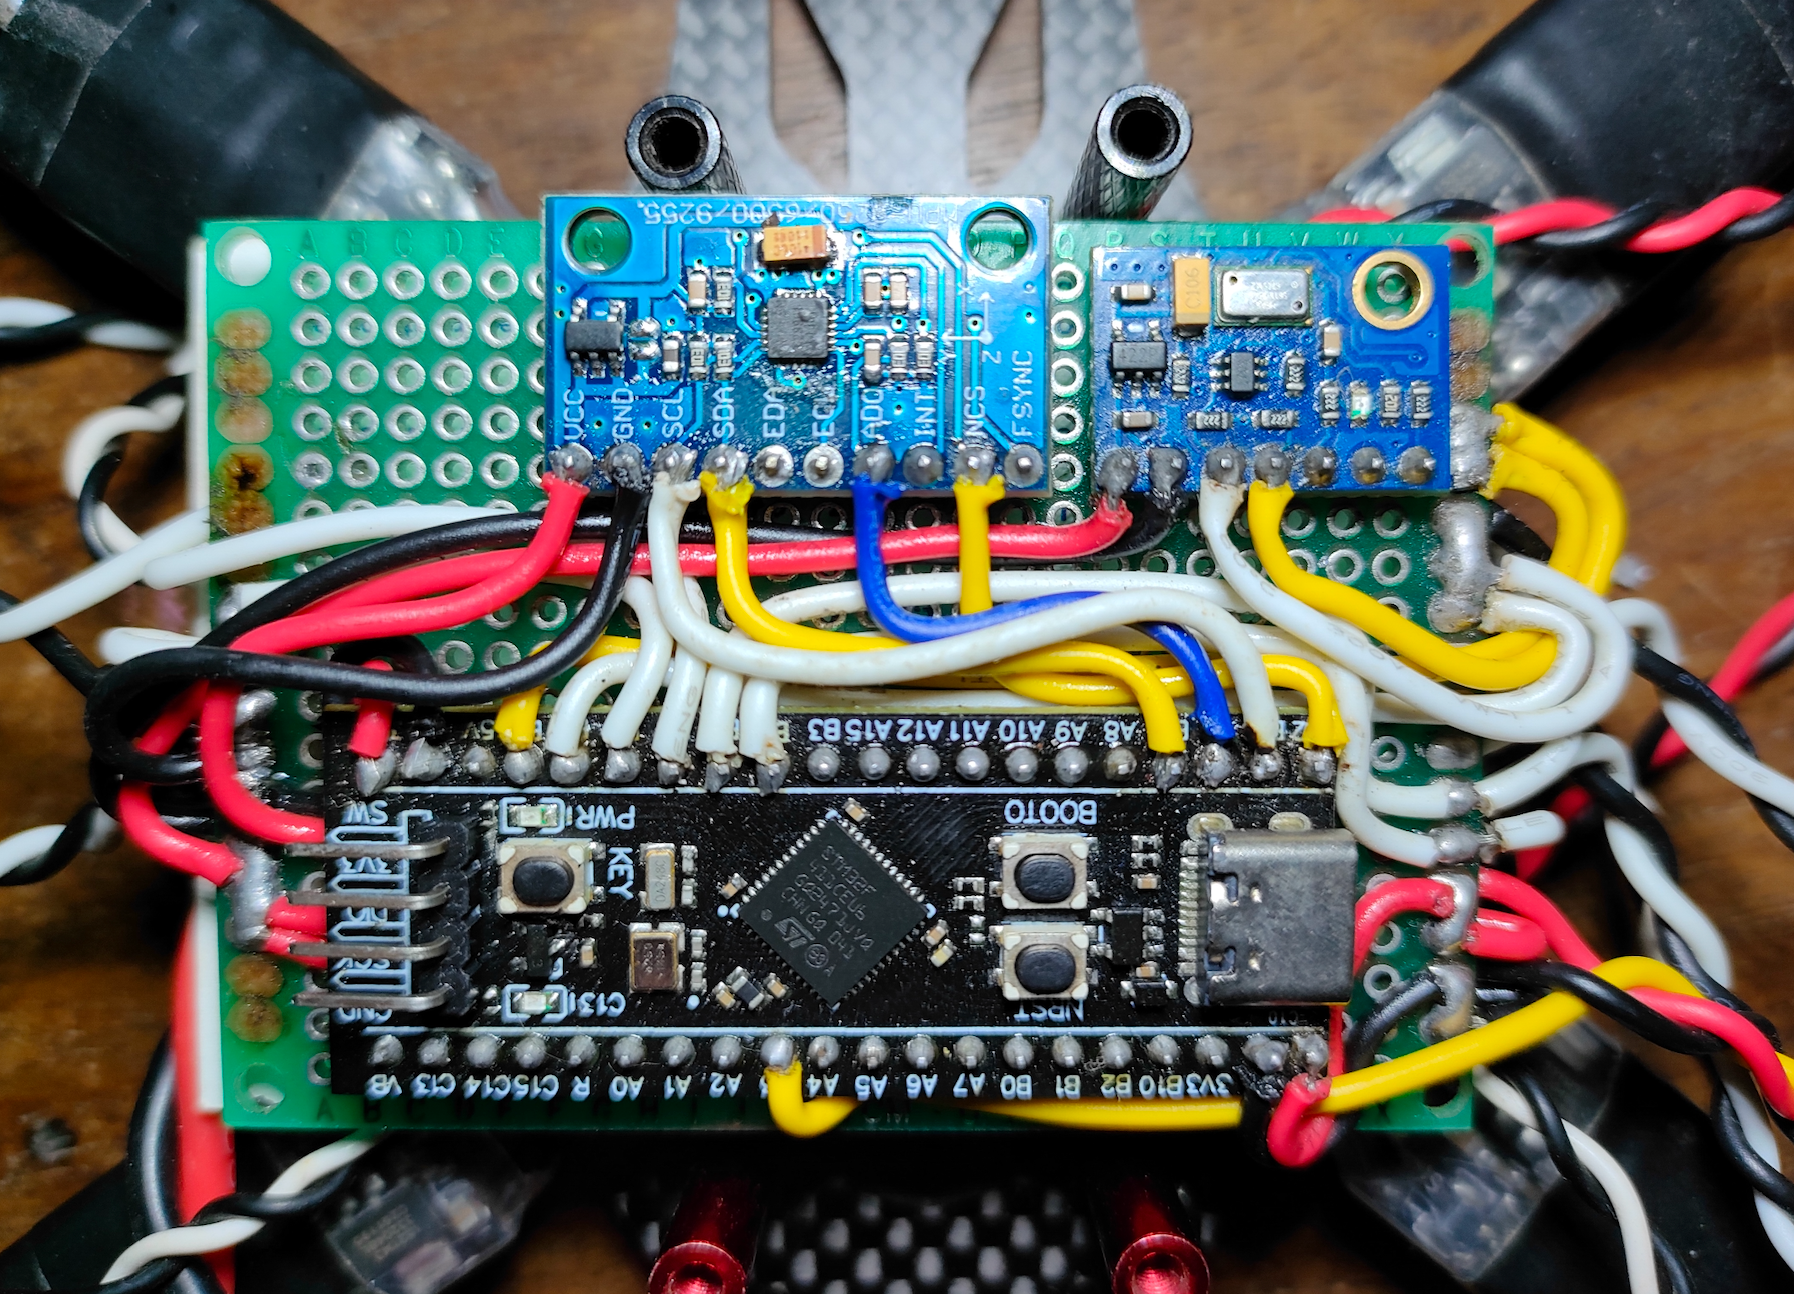
After soldering the components together, the FC should look similar to below.
Quadcopter hardware
My build
The table below contains the list of components for the quadcopter on my build. Do your research and make sure the components are compatible with your build before buying.
| Component | Description | Image |
|---|---|---|
| APEX 5 FPV carbon fiber frame | FPV style quadcopter frame. | 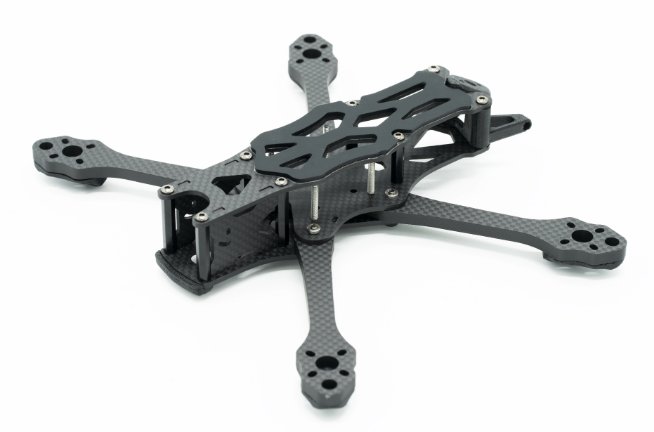
|
| RS2205 2300KV BLDC motor, 4pcs | I used this motor because it fits the APEX 5 frame, use whichever motor fits your frame. | 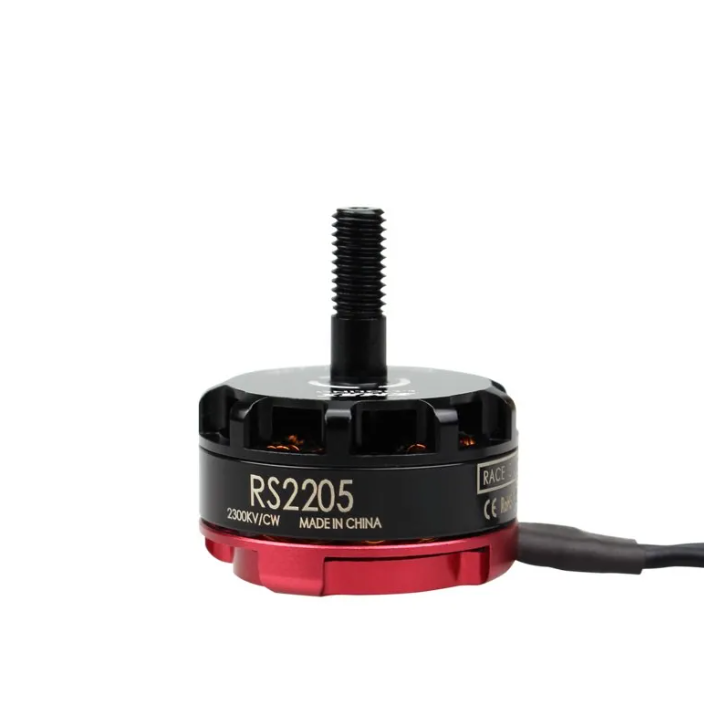
|
| Propellers, 4pcs | I used a 5 inch propeller. Use the propeller that fits your motor. | 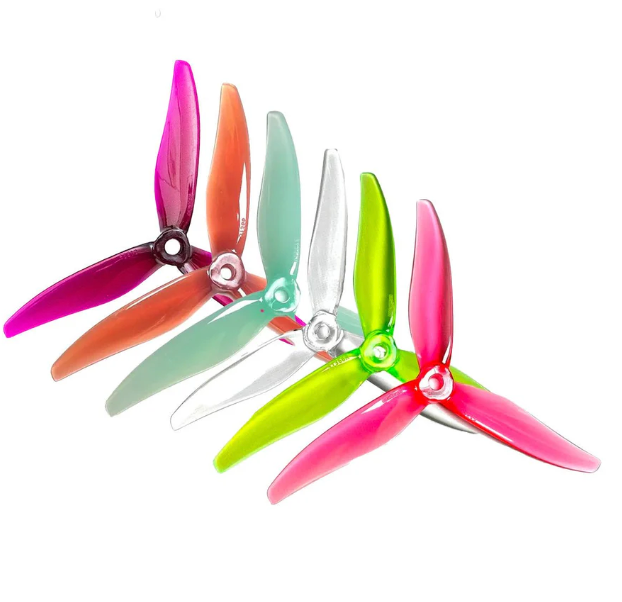
|
| Prop guards, 4pcs (optional) | Propeller guards are optional but can help protect your props from damage. | 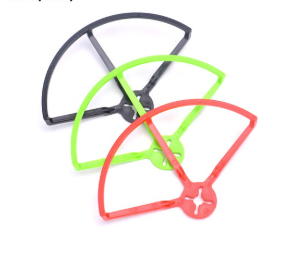
|
| FVT LittleBee BLHeli-S 30A ESC, 4pcs | I used individual ESCs, but I’d go with the 4-in-1 if I’d do it again. A brand called SpeedyBee provides quality 4-in-1 ESC. | 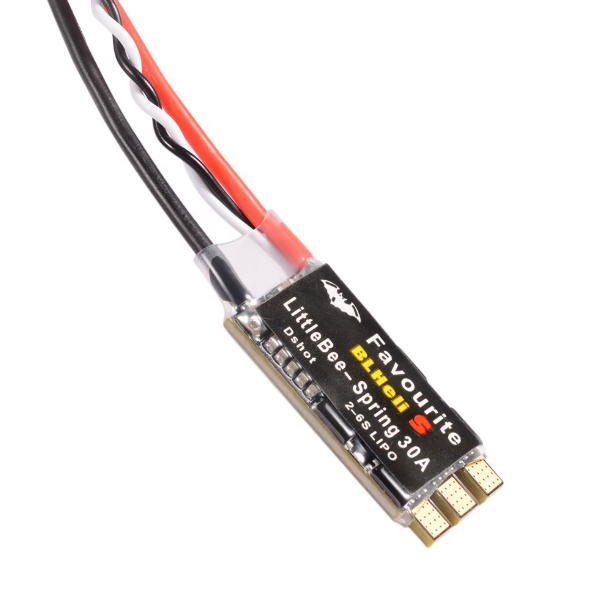
|
| Matek Mini Power Hub (optional) | I had to use a power distribution board (PDB) to power all 4 ESC, the FC and the receiver. You might not need it if you’re using 4-in-1 ESC. | 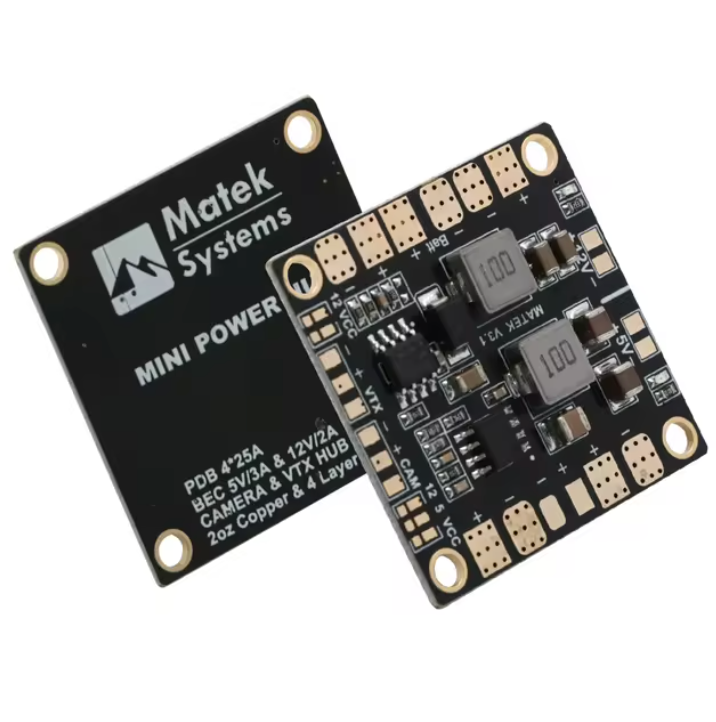
|
| Sunpadow 1300mah 4S 120C lipo battery | Use any 4S lipo with similar discharge rate. | 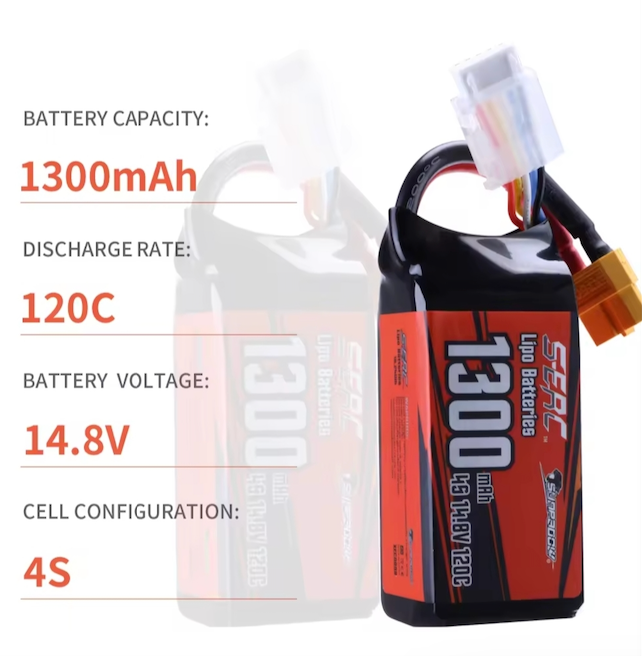
|
| Fli14+ receiver | Use any receiver compatible to your radio transmitter. An alternative would be FlySky ia6b. | 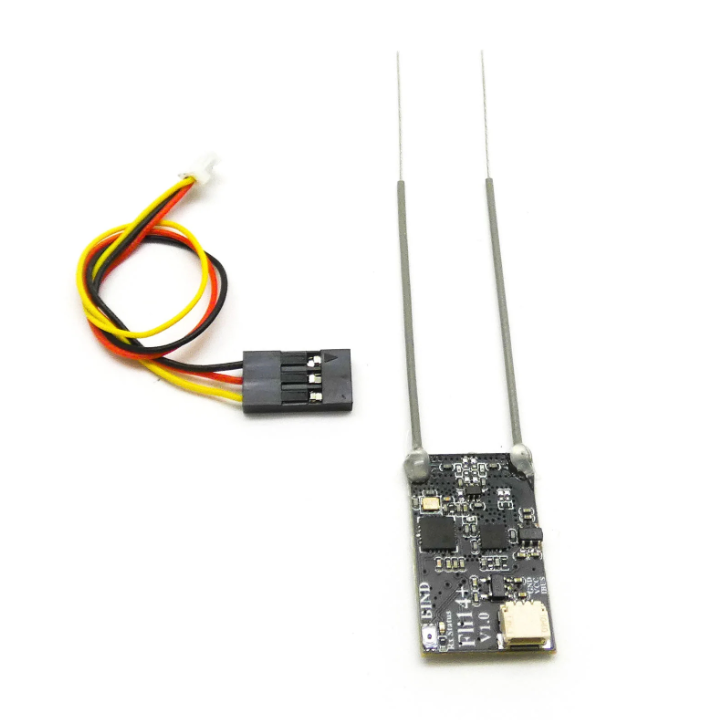
|
| FlySky i6x transmitter | I used FlySky i6x because it’s relatively cheap and popular amongst enthusiasts. | 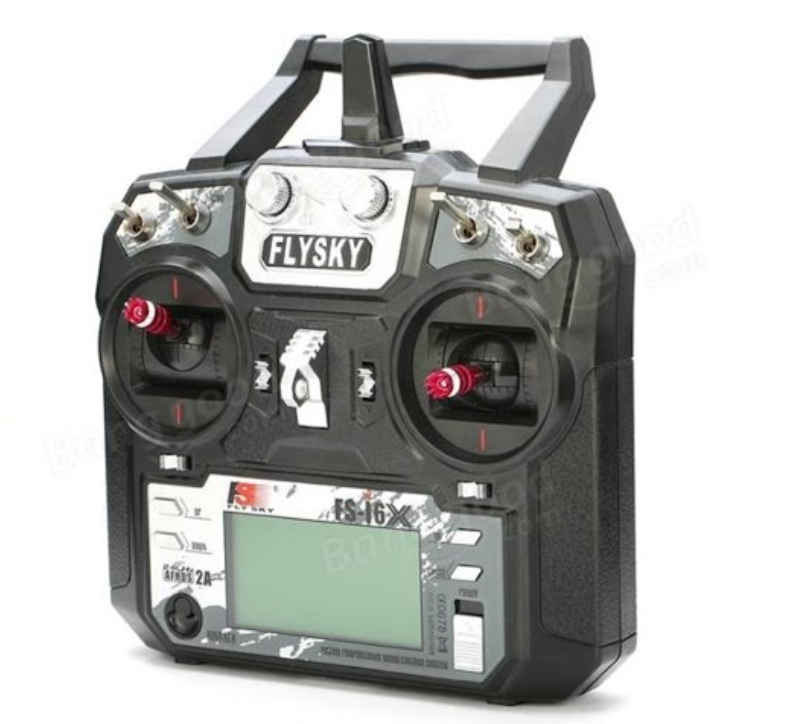
|
| Wires and connector | I used 16awg and XT60 connector to connect the battery to the PDB. | 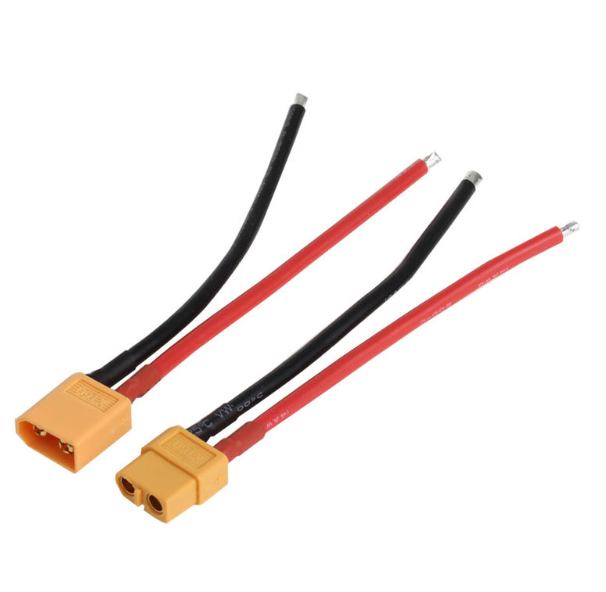
|
Alternative build
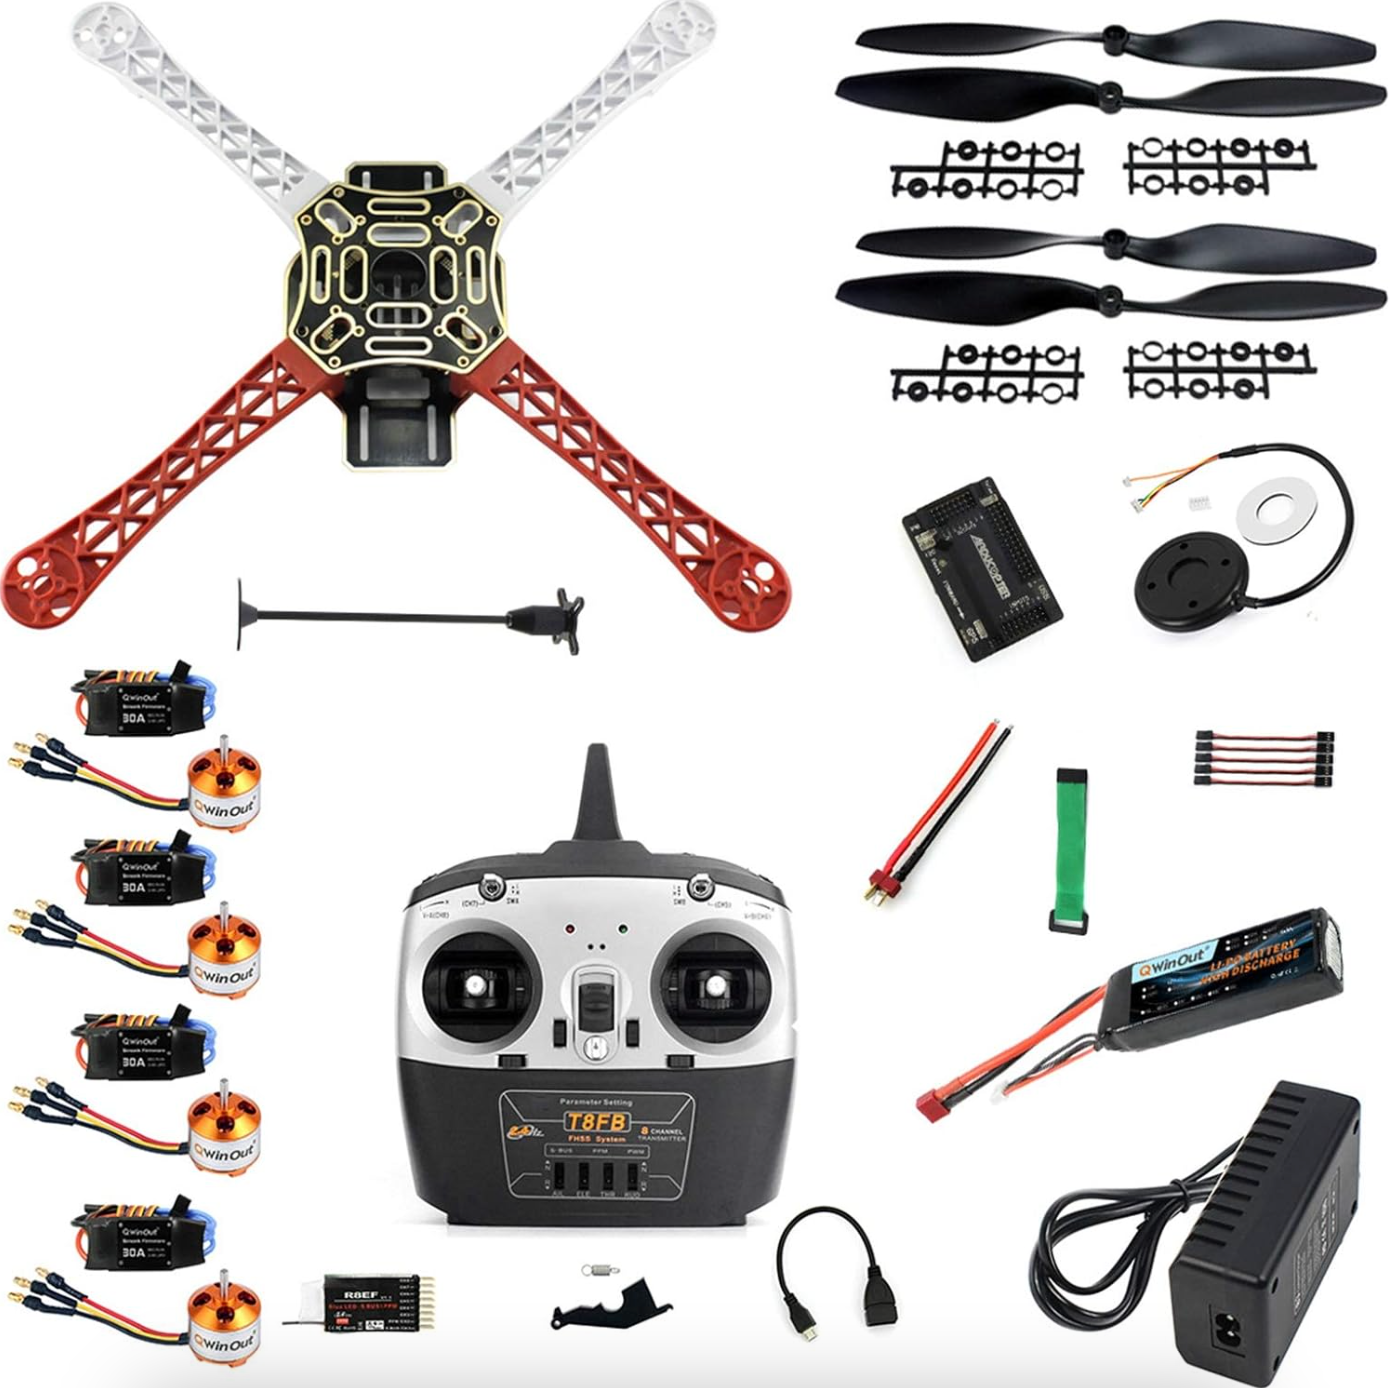
An alternative is a kit called F450 drone kit. It includes the frame, BLDC motors, ESCs, propellers, batteries etc. You can buy it from almost any online store.
Remember that we’re making the FC so you can exclude that from the kit if you’re planning on buying this.
Powering the FC and the receiver
The FC and the receiver will need 5V so we will connect it to the 5V terminal of the PDB. Again, follow the schematics and connections to connect the receiver to the FC.
Motor rotation
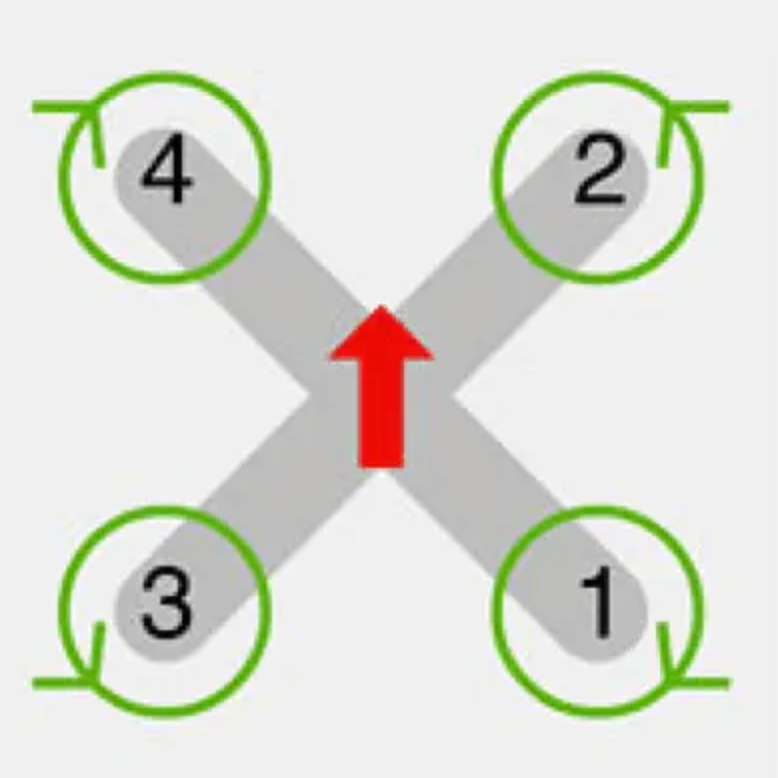
The motors have specific rotation for each arm: clockwise (CW) and counter clock-wise (CCW). I follow the traditional rotation shown below.
Putting it together
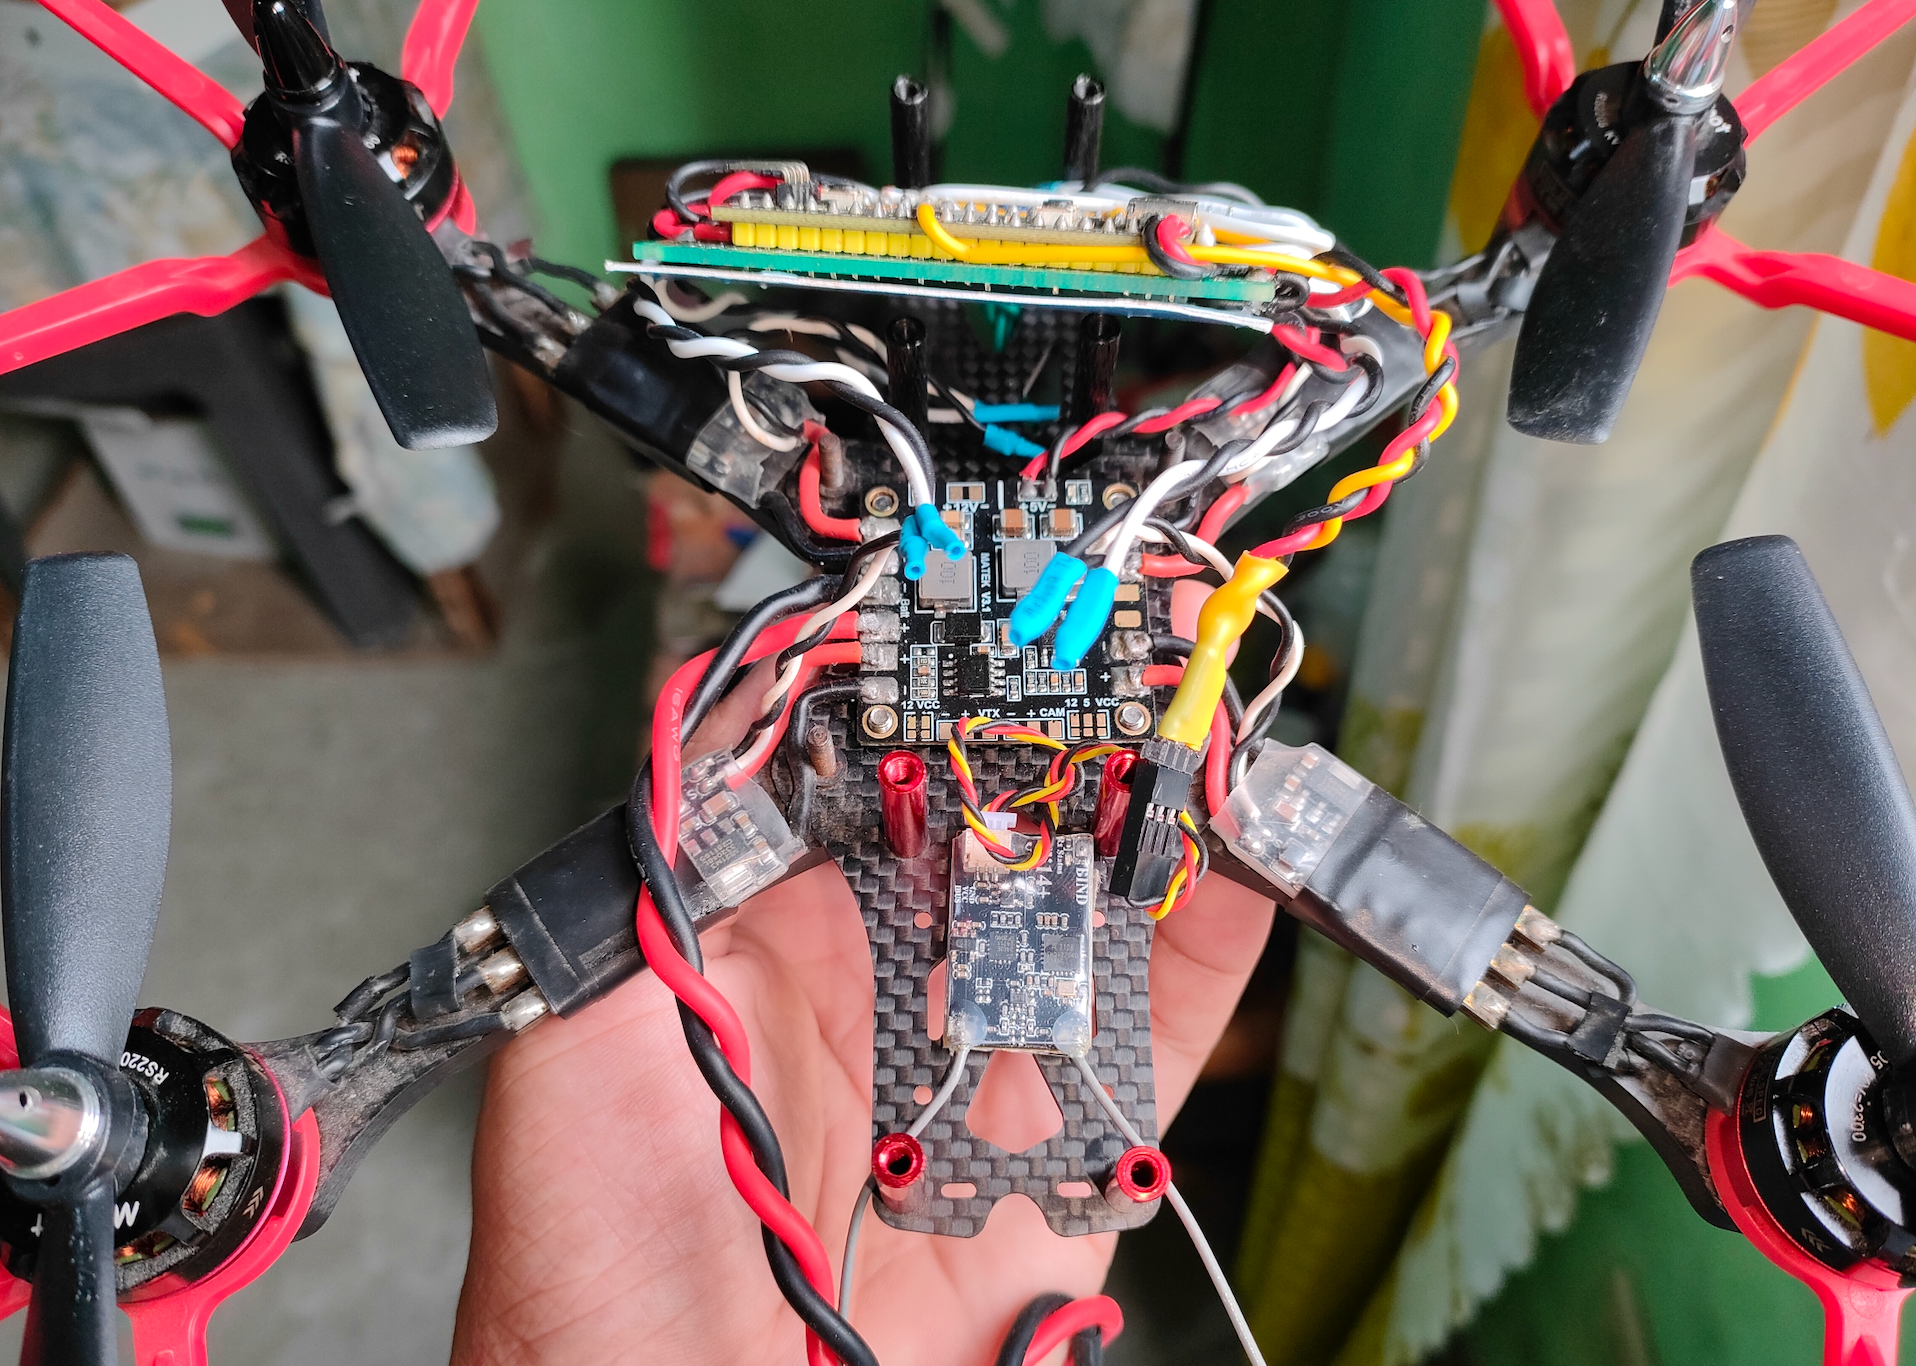
Below is the quad after putting all the components together along with the FC.
INAV firmware
We will be using INAV firmware to power the flight control. To start, download the custom INAV 7.1 build from Riza Çelik’s STM32F411CEU6_INAV_Firmware repository. You also need to download the INAV Configurator to flash the firmware to the STM32F411 board. Below is a guide from Riza on how to flash INAV firmware into your board.
NOTE: It is required to connect at least a gyroscope/accelerometer to your board before you can connect to INAV configurator.
INAV configuration
Once INAV firmware is flashed into your FC, you need to configure the receiver and aux modes. Below is a comprehensive guide on how to setup INAV on your FC from Joshua Bardwell. You can watch the whole video or skip to the receiver and aux mode setup.
Binding the receiver
If you haven’t bind the receiver to your transmitter, you can follow the guide below.
Test flight
Finally, we do a test flight. Make sure to calibrate your gyroscope/accelerometer from INAV configurator or else the quad will not arm.
As you can see, the quad can fly and it’s relatively stable but my drone piloting skills (or lack of 😆) definitely needs some improvement. Without a GPS and compass, you can’t do a position hold, so it’s more difficult to control. Now you know why.
Tips and recommendations
- Research the components and make sure it’s compatible with your build before buying
- Test the components before you solder them together to make sure it works
- Check the connections and make sure there are no short-circuit
- Practice on a simulator before doing any serious test flight!
Conclusion
Nowadays, you can easily buy a flight control online, slap it into your quad, and boom, you’re done. Heck, you can even buy a fully-built quad. So, why even bother?
I bought a “drone” a while back called MJX Bugs 5W and it works well. I was curious and want to build my own from scratch but didn’t know how.
Last year, I did an exploration of embedded systems and took a course on Udemy. I purchased development boards while working on the course and one of them is an STM32F411 a.k.a. BlackPill board. I eventually found out that I could use this board to make a flight control and that’s where it all started.
To conclude, it was a lot of work and quite expensive, but the time and resources that I’ve poured into this project has been incredibly worth it because I learned a lot and had so much fun!
Thanks for reading and I hope you found this post useful, cheers!
P.S. The flight control works, but it looks “ugly” so as a future project, I’m planning to make a custom PCB that can be screwed onto the frame 😉 stay tuned!
P.S. I added some articles from oscarliang.com related to FPV quad, check them out if you want to learn more.
Related posts and links
- STM32F411 BlackPill board
- Schematics and connections
- Custom INAV firmware for STM32F411
- INAV firmware
- FlySky Transmitter & Receiver Buyer’s Guide
- Using LiPo Batteries for FPV Drones
- The Best 5-inch FPV Drones and Parts
- Understanding ESCs for FPV Drones
- How to Choose the Best Propellers for Your FPV Drone
- Props In vs. Props Out in FPV Drones